---
title: "Configurations"
description: "Configure environment variables for self-hosted Infisical"
---
Infisical accepts all configurations via environment variables. For a minimal self-hosted instance, at least `ENCRYPTION_KEY`, `AUTH_SECRET`, `DB_CONNECTION_URI` and `REDIS_URL` must be defined.
However, you can configure additional settings to activate more features as needed.
## General platform
Used to configure platform-specific security and operational settings
Must be a random 16 byte hex string. Can be generated with `openssl rand -hex 16`
Must be a random 32 byte base64 string. Can be generated with `openssl rand -base64 32`
Must be an absolute URL including the protocol (e.g. https://app.infisical.com).
## Data Layer
The platform utilizes Postgres to persist all of its data and Redis for caching and backgroud tasks
Postgres database connection string.
Configure the SSL certificate for securing a Postgres connection by first encoding it in base64.
Use the command below to encode your certificate:
`echo "" | base64`
Redis connection string.
## Email service
Without email configuration, Infisical's core functions like sign-up/login and secret operations work, but this disables multi-factor authentication, email invites for projects, alerts for suspicious logins, and all other email-dependent features.
Hostname to connect to for establishing SMTP connections
Credential to connect to host (e.g. team@infisical.com)
Credential to connect to host
Port to connect to for establishing SMTP connections
If true, use TLS when connecting to host. If false, TLS will be used if STARTTLS is supported
Email address to be used for sending emails
Name label to be used in From field (e.g. Team)
1. Create an account and configure [SendGrid](https://sendgrid.com) to send emails.
2. Create a SendGrid API Key under Settings > [API Keys](https://app.sendgrid.com/settings/api_keys)
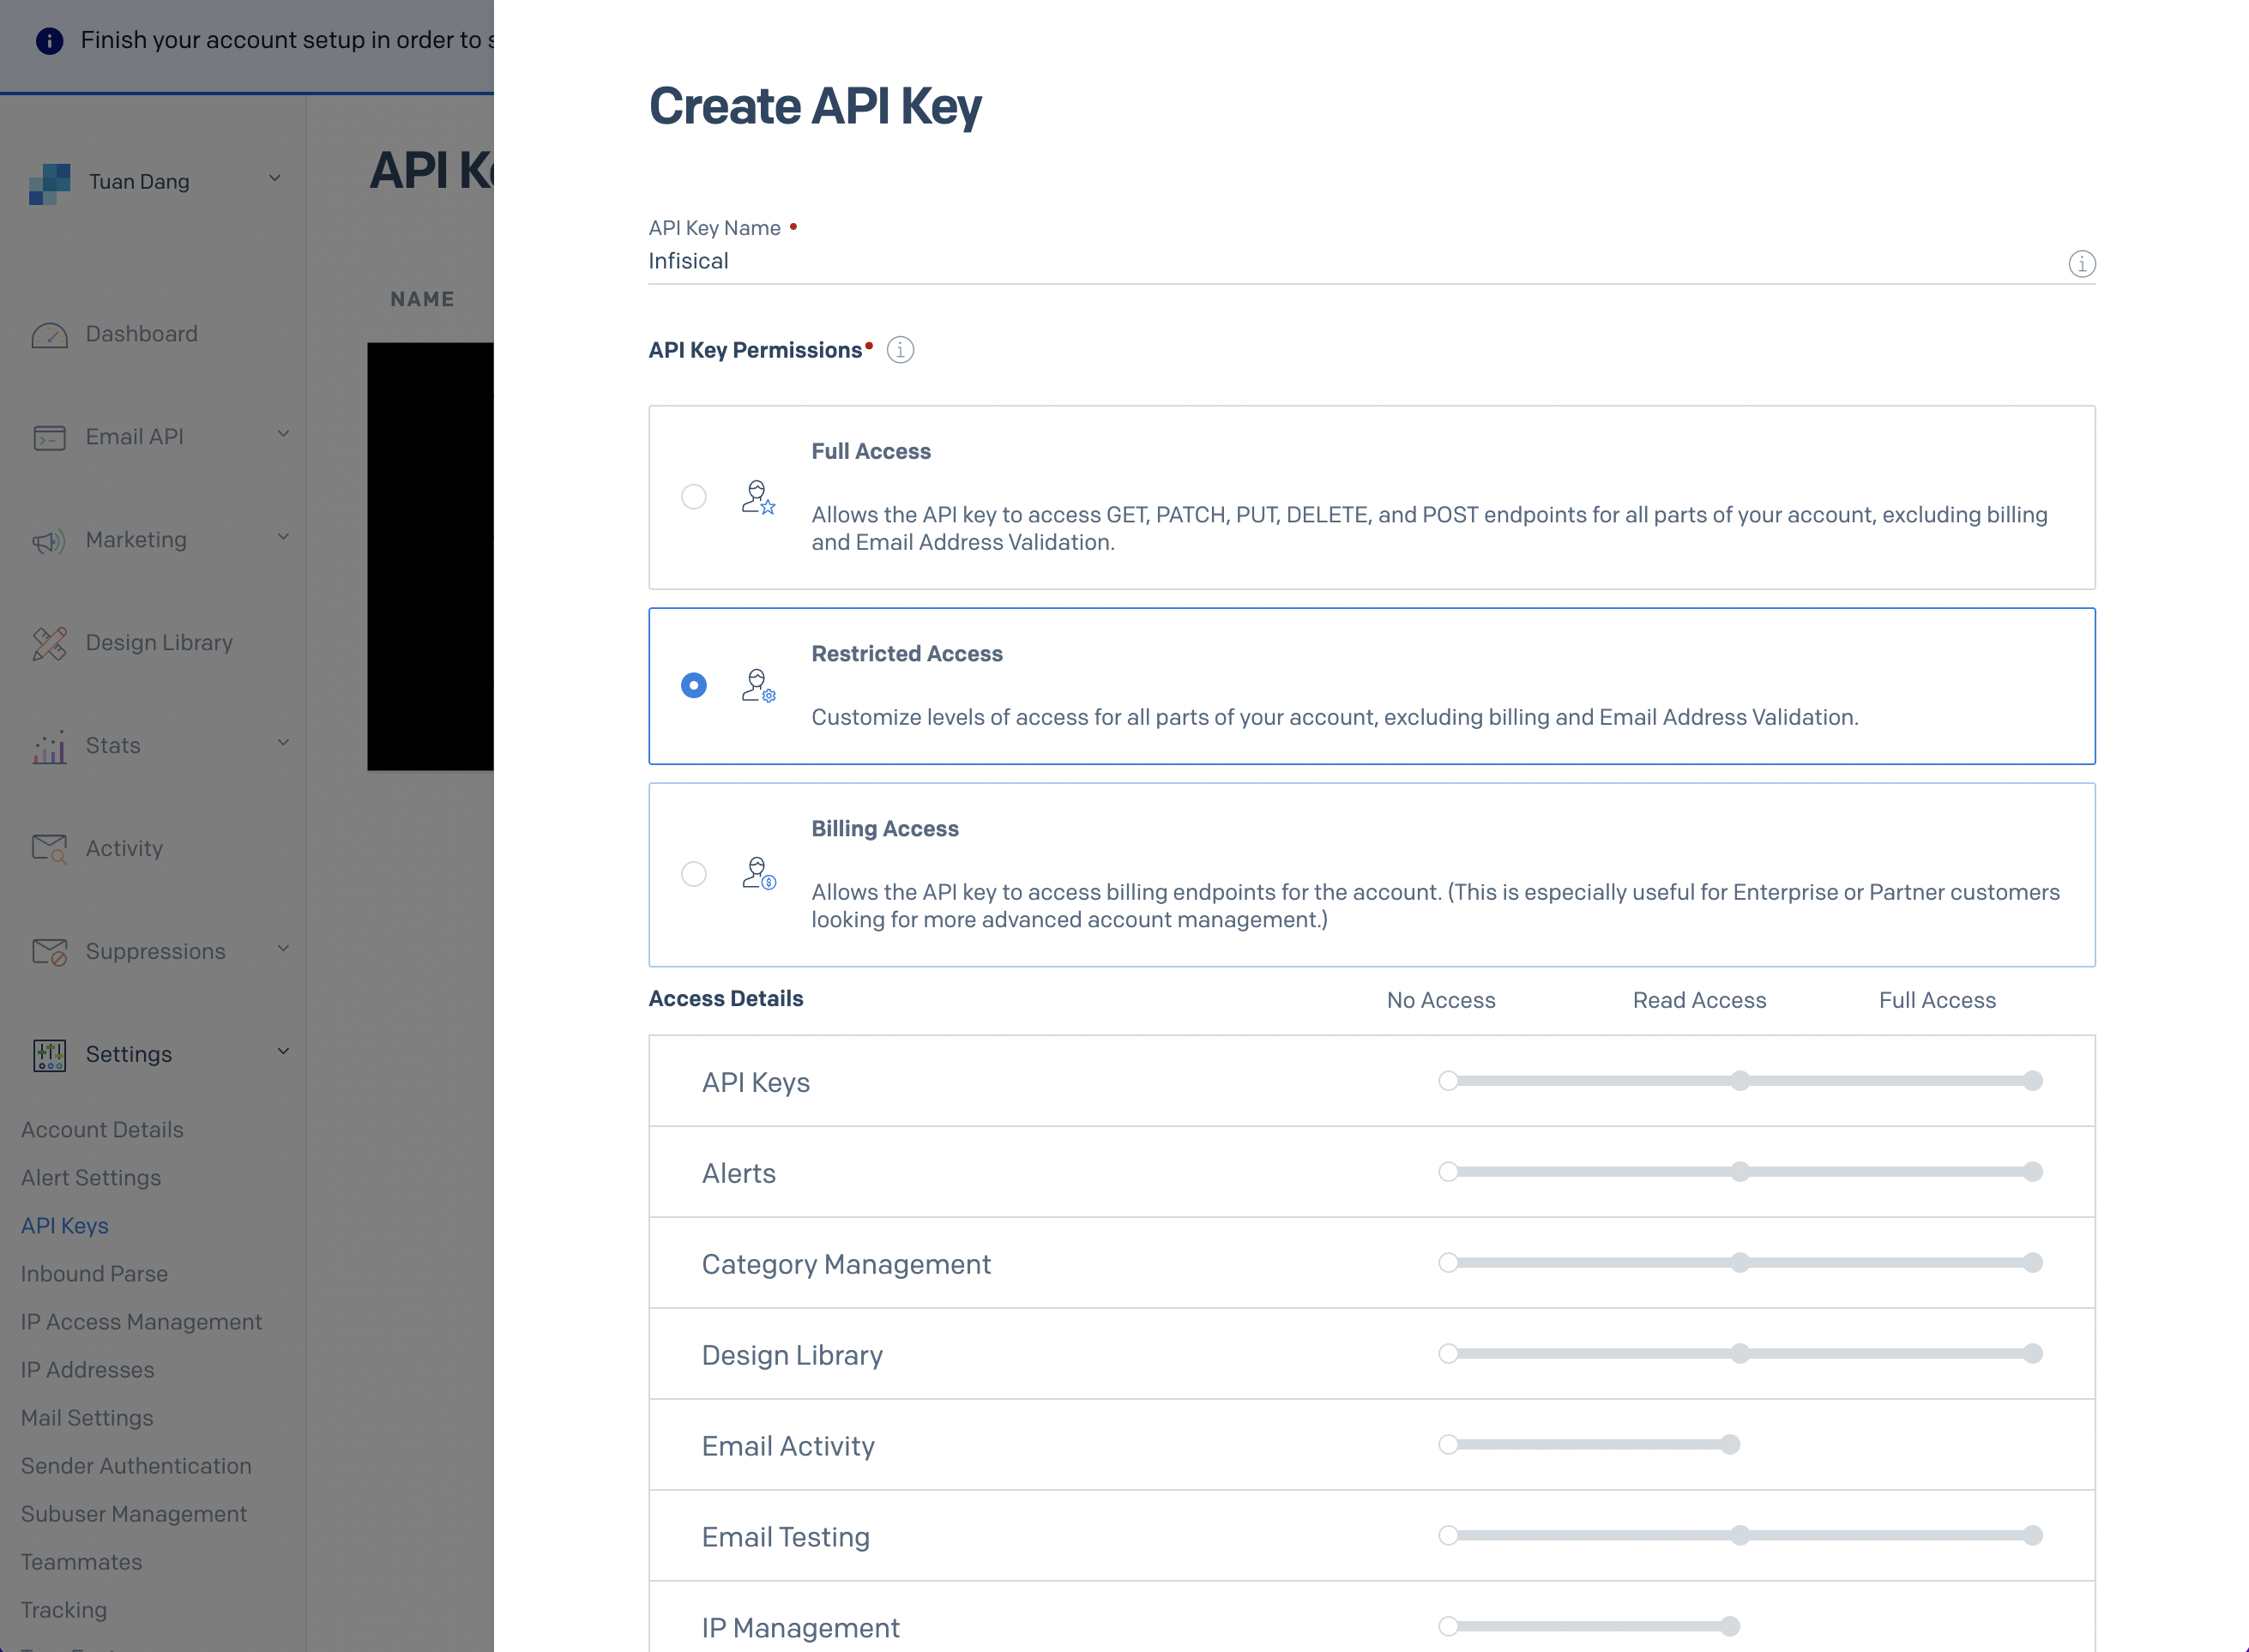
3. Set a name for your API Key, we recommend using "Infisical," and select the "Restricted Key" option. You will need to enable the "Mail Send" permission as shown below:

4. With the API Key, you can now set your SMTP environment variables:
```
SMTP_HOST=smtp.sendgrid.net
SMTP_USERNAME=apikey
SMTP_PASSWORD=SG.rqFsfjxYPiqE1lqZTgD_lz7x8IVLx # your SendGrid API Key from step above
SMTP_PORT=587
SMTP_SECURE=true
SMTP_FROM_ADDRESS=hey@example.com # your email address being used to send out emails
SMTP_FROM_NAME=Infisical
```
Remember that you will need to restart Infisical for this to work properly.
1. Create an account and configure [Mailgun](https://www.mailgun.com) to send emails.
2. Obtain your Mailgun credentials in Sending > Overview > SMTP

3. With your Mailgun credentials, you can now set up your SMTP environment variables:
```
SMTP_HOST=smtp.mailgun.org # obtained from credentials page
SMTP_USERNAME=postmaster@example.mailgun.org # obtained from credentials page
SMTP_PASSWORD=password # obtained from credentials page
SMTP_PORT=587
SMTP_SECURE=true
SMTP_FROM_ADDRESS=hey@example.com # your email address being used to send out emails
SMTP_FROM_NAME=Infisical
```
1. Create an account and [configure AWS SES](https://aws.amazon.com/premiumsupport/knowledge-center/ses-set-up-connect-smtp/) to send emails in the Amazon SES console.
2. Create an IAM user for SMTP authentication and obtain SMTP credentials in SMTP settings > Create SMTP credentials

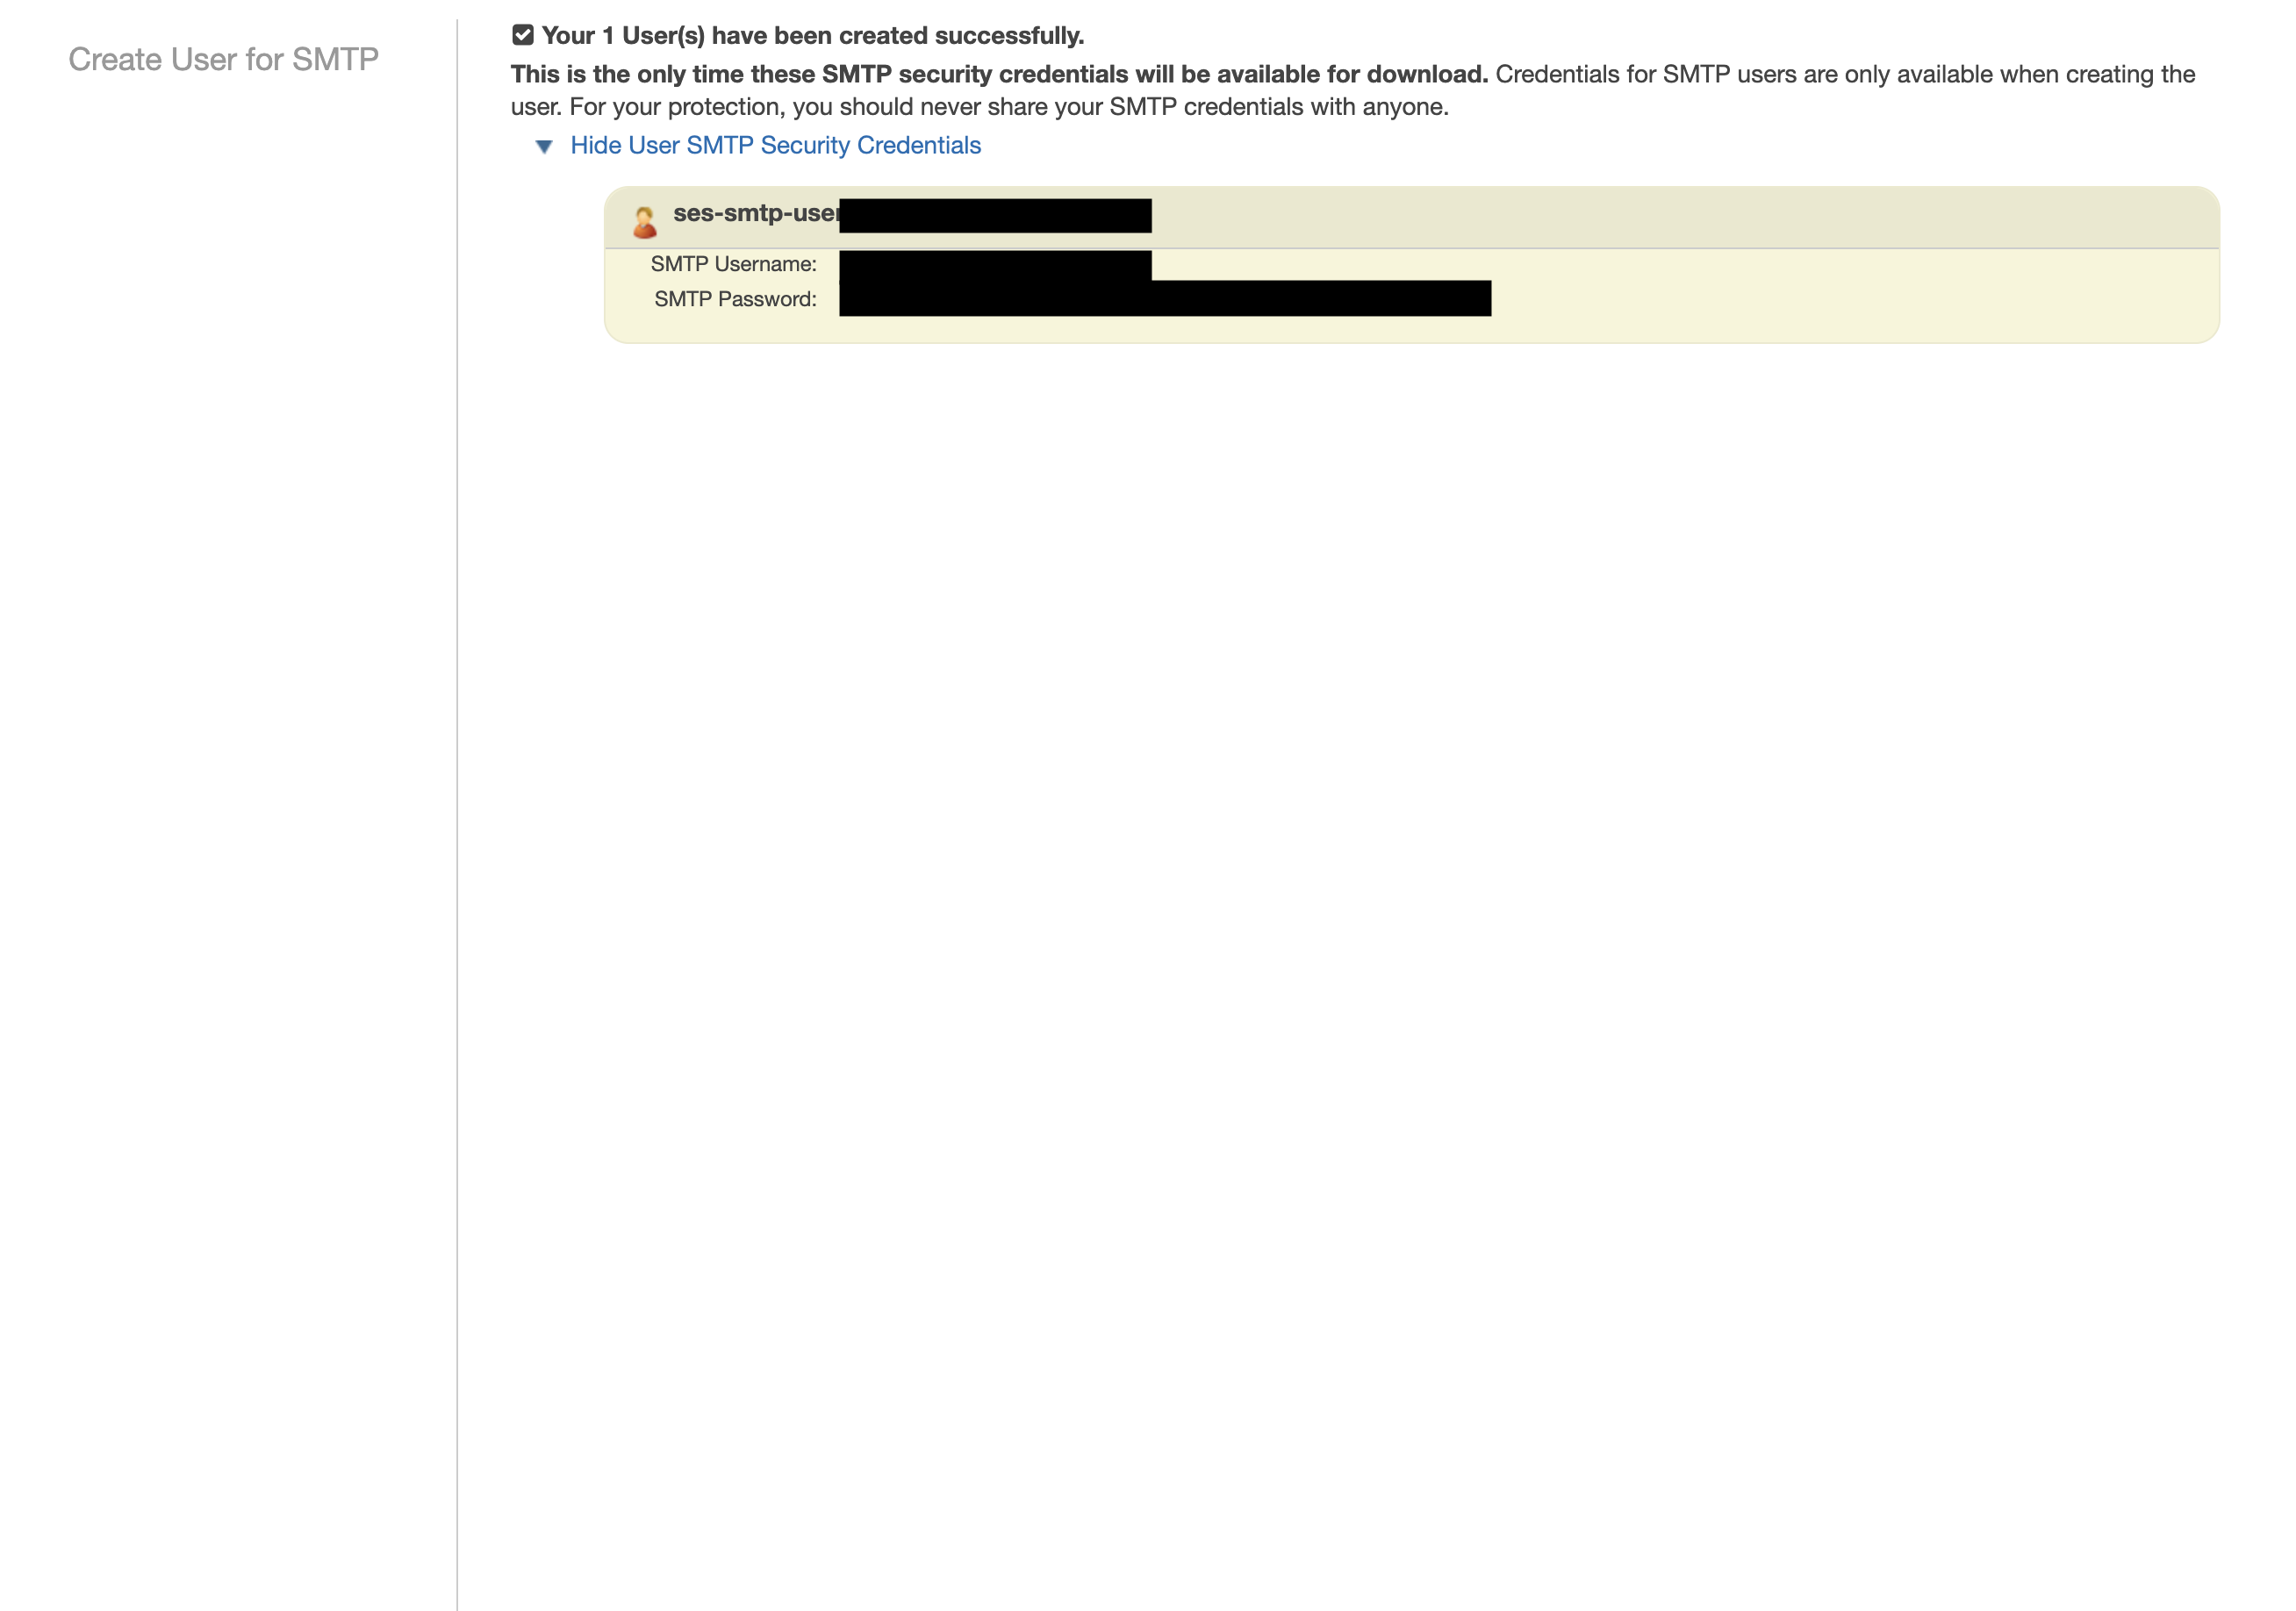
3. With your AWS SES SMTP credentials, you can now set up your SMTP environment variables:
```
SMTP_HOST=email-smtp.ap-northeast-1.amazonaws.com # SMTP endpoint obtained from SMTP settings
SMTP_USERNAME=xxx # your SMTP username
SMTP_PASSWORD=xxx # your SMTP password
SMTP_PORT=587
SMTP_SECURE=true
SMTP_FROM_ADDRESS=hey@example.com # your email address being used to send out emails
SMTP_FROM_NAME=Infisical
```
Remember that you will need to restart Infisical for this to work properly.
1. Create an account and configure [SocketLabs](https://www.socketlabs.com/) to send emails.
2. From the dashboard, navigate to SMTP Credentials > SMTP & APIs > SMTP Credentials to obtain your SocketLabs SMTP credentials.


3. With your SocketLabs SMTP credentials, you can now set up your SMTP environment variables:
```
SMTP_HOST=smtp.socketlabs.com
SMTP_USERNAME=username # obtained from your credentials
SMTP_PASSWORD=password # obtained from your credentials
SMTP_PORT=587
SMTP_SECURE=true
SMTP_FROM_ADDRESS=hey@example.com # your email address being used to send out emails
SMTP_FROM_NAME=Infisical
```
The `SMTP_FROM_ADDRESS` environment variable should be an email for an
authenticated domain under Configuration > Domain Management in SocketLabs.
For example, if you're using SocketLabs in sandbox mode, then you may use an
email like `team@sandbox.socketlabs.dev`.

Remember that you will need to restart Infisical for this to work properly.
1. Create an account on [Resend](https://resend.com).
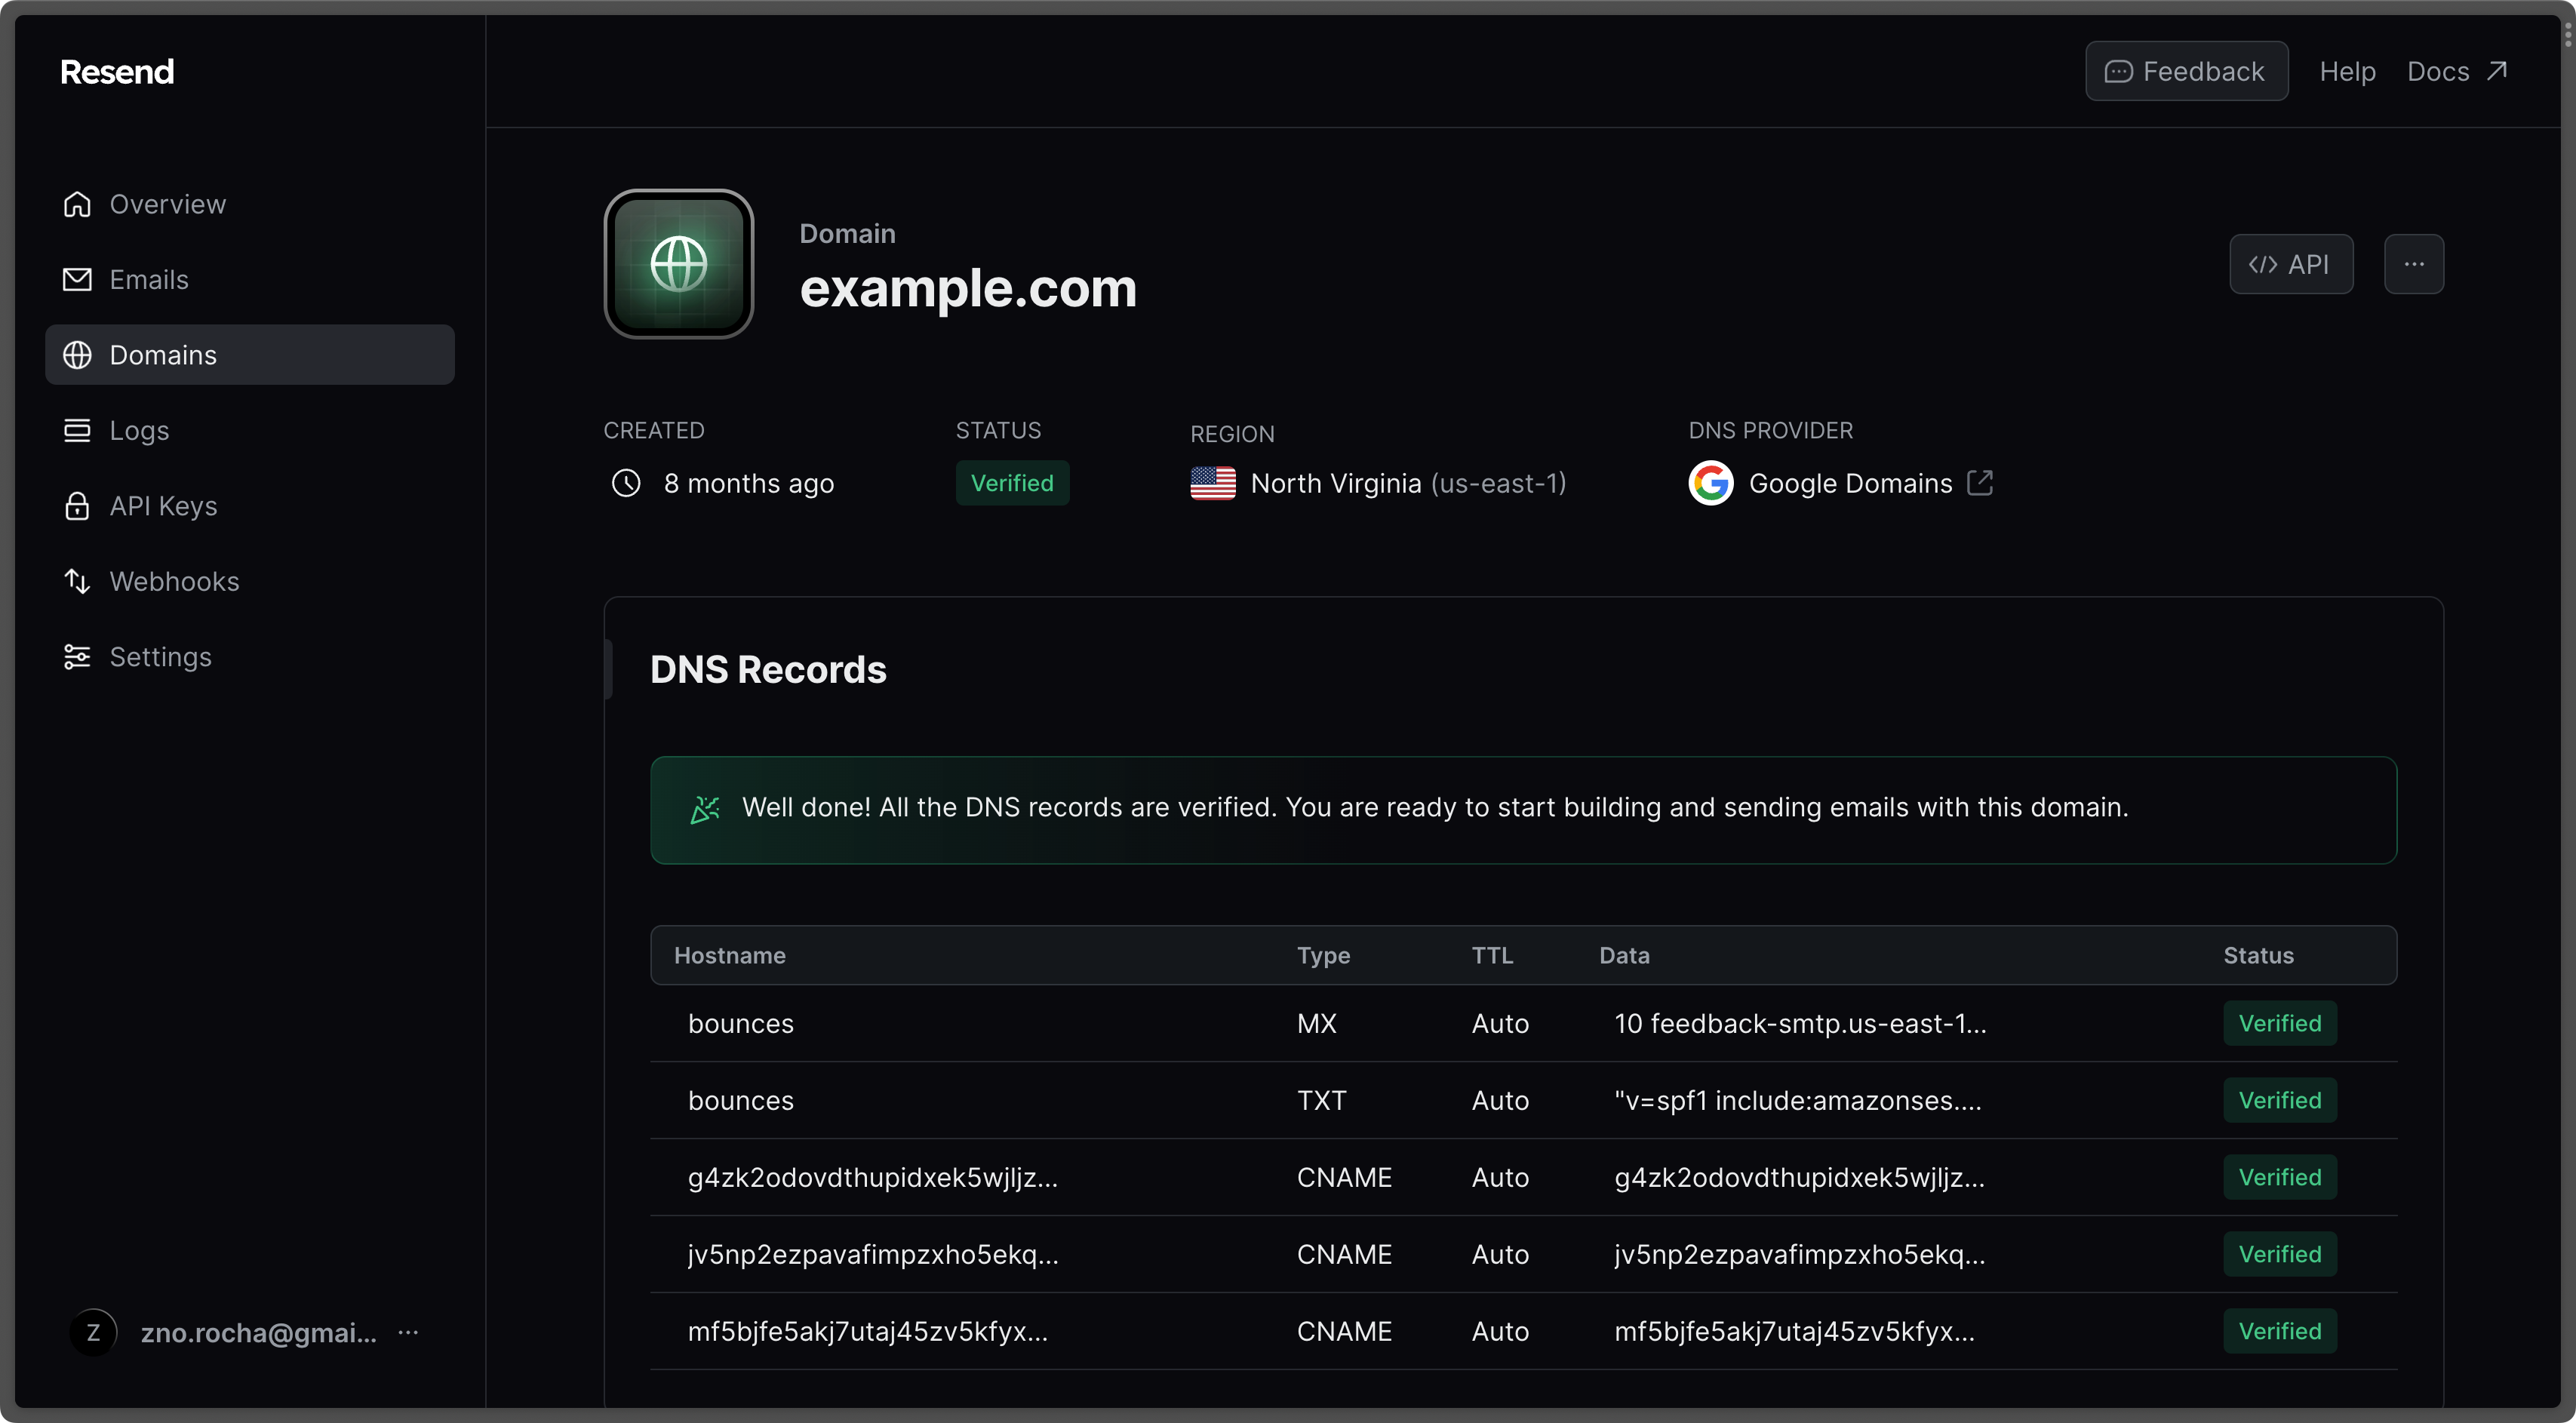
2. Add a [Domain](https://resend.com/domains).
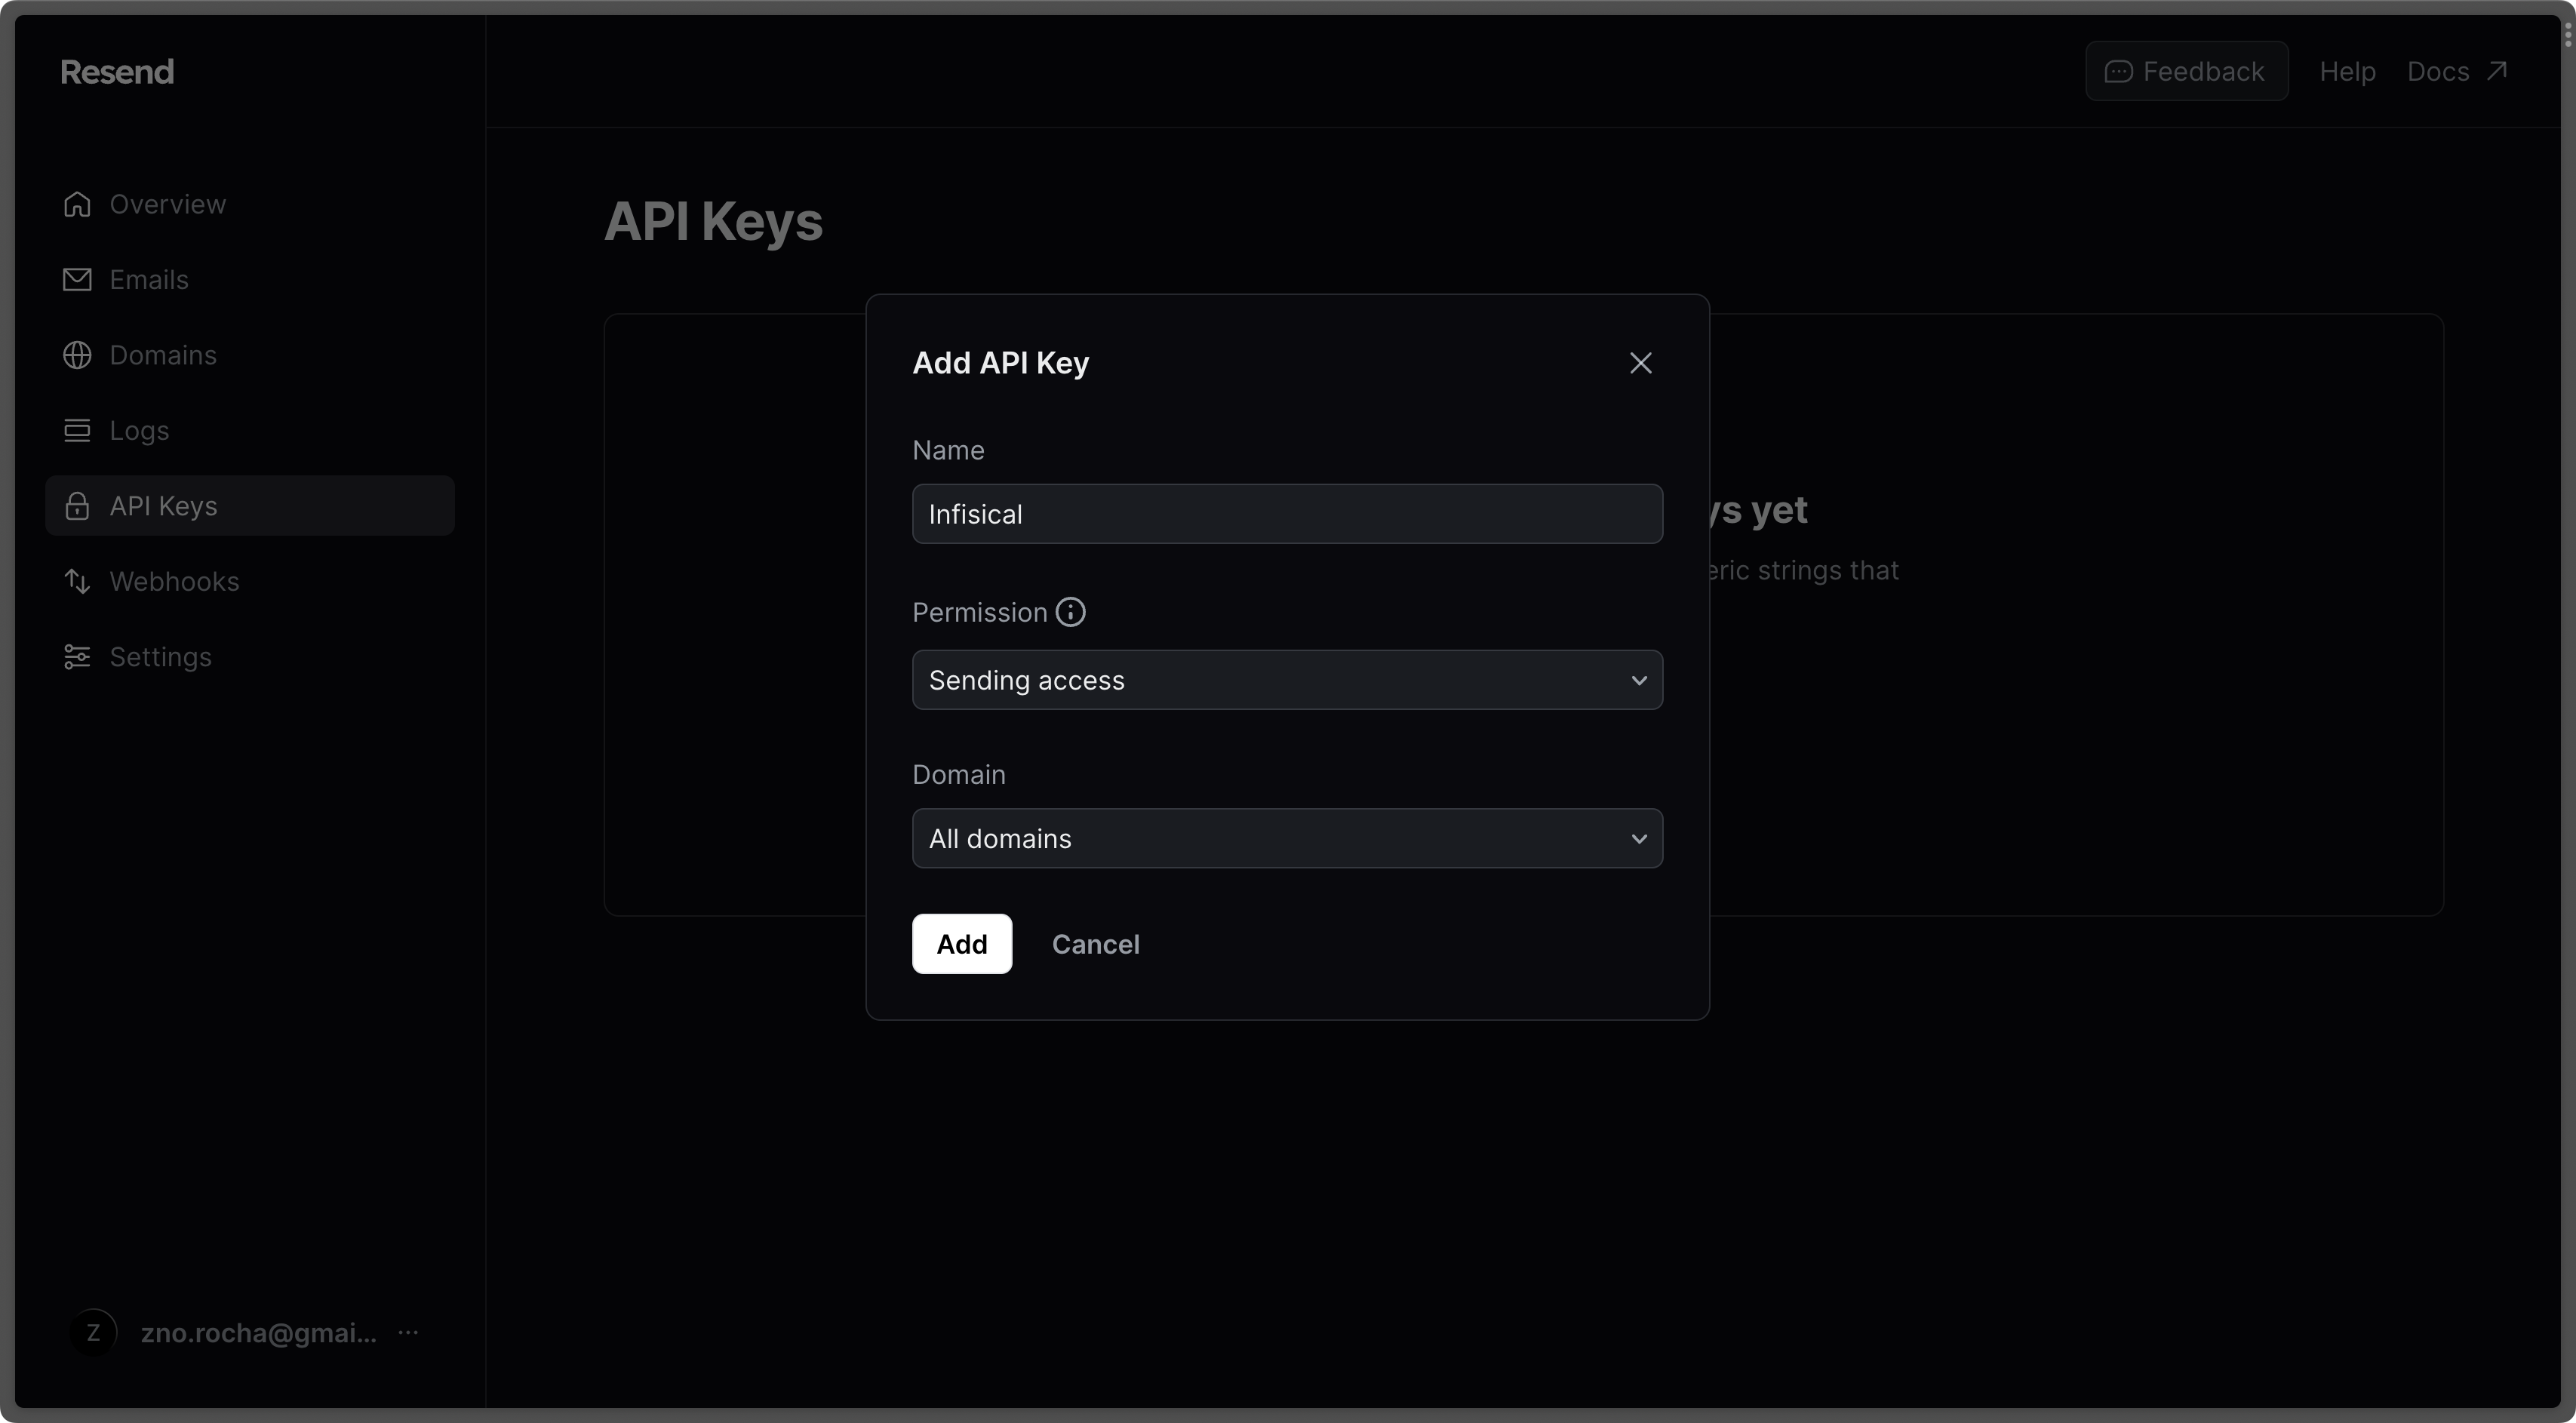
3. Create an [API Key](https://resend.com/api-keys).
4. Go to the [SMTP page](https://resend.com/settings/smtp) and copy the values.

5. With the API Key, you can now set your SMTP environment variables variables:
```
SMTP_HOST=smtp.resend.com
SMTP_USERNAME=resend
SMTP_PASSWORD=YOUR_API_KEY
SMTP_PORT=587
SMTP_SECURE=true
SMTP_FROM_ADDRESS=hey@example.com # your email address being used to send out emails
SMTP_FROM_NAME=Infisical
```
Remember that you will need to restart Infisical for this to work properly.
Create an account and enable "less secure app access" in Gmail Account Settings > Security. This will allow
applications like Infisical to authenticate with Gmail via your username and password.

With your Gmail username and password, you can set your SMTP environment variables:
```
SMTP_HOST=smtp.gmail.com
SMTP_USERNAME=hey@gmail.com # your email
SMTP_PASSWORD=password # your password
SMTP_PORT=587
SMTP_SECURE=true
SMTP_FROM_ADDRESS=hey@gmail.com
SMTP_FROM_NAME=Infisical
```
As per the [notice](https://support.google.com/accounts/answer/6010255?hl=en) by Google, you should note that using Gmail credentials for SMTP configuration
will only work for Google Workspace or Google Cloud Identity customers as of May 30, 2022.
Put differently, the SMTP configuration is only possible with business (not personal) Gmail credentials.
1. Create an account and configure [Office365](https://www.office.com/) to send emails.
2. With your login credentials, you can now set up your SMTP environment variables:
```
SMTP_HOST=smtp.office365.com
SMTP_USERNAME=username@yourdomain.com # your username
SMTP_PASSWORD=password # your password
SMTP_PORT=587
SMTP_SECURE=true
SMTP_FROM_ADDRESS=username@yourdomain.com
SMTP_FROM_NAME=Infisical
```
1. Create an account and configure [Zoho Mail](https://www.zoho.com/mail/) to send emails.
2. With your email credentials, you can now set up your SMTP environment variables:
```
SMTP_HOST=smtp.zoho.com
SMTP_USERNAME=username # your email
SMTP_PASSWORD=password # your password
SMTP_PORT=587
SMTP_SECURE=true
SMTP_FROM_ADDRESS=hey@example.com # your personal Zoho email or domain-based email linked to Zoho Mail
SMTP_FROM_NAME=Infisical
```
You can use either your personal Zoho email address like `you@zohomail.com` or
a domain-based email address like `you@yourdomain.com`. If using a
domain-based email address, then please make sure that you've configured and
verified it with Zoho Mail.
Remember that you will need to restart Infisical for this to work properly.
## SSO based login
By default, users can only login via email/password based login method.
To login into Infisical with OAuth providers such as Google, configure the associated variables.
Follow detailed guide to configure [Google SSO](/documentation/platform/sso/google)
OAuth2 client ID for Google login
OAuth2 client secret for Google login
Follow detailed guide to configure [GitHub SSO](/documentation/platform/sso/github)
OAuth2 client ID for GitHub login
OAuth2 client secret for GitHub login
Follow detailed guide to configure [GitLab SSO](/documentation/platform/sso/gitlab)
OAuth2 client ID for GitLab login
OAuth2 client secret for GitLab login
URL of your self-hosted instance of GitLab where the OAuth application is registered
Requires enterprise license. Please contact team@infisical.com to get more information.
Requires enterprise license. Please contact team@infisical.com to get more information.
Requires enterprise license. Please contact team@infisical.com to get more information.
## Native secret integrations
To help you sync secrets from Infisical to services such as Github and Gitlab, Infisical provides native integrations out of the box.
OAuth2 client ID for Heroku integration
OAuth2 client secret for Heroku integration
OAuth2 client ID for Vercel integration
OAuth2 client secret for Vercel integration
OAuth2 slug for Vercel integration
OAuth2 client ID for Netlify integration
OAuth2 client secret for Netlify integration
OAuth2 client ID for GitHub integration
OAuth2 client secret for GitHub integration
OAuth2 client ID for BitBucket integration
OAuth2 client secret for BitBucket integration
OAuth2 client id for GCP secrets manager integration
OAuth2 client secret for GCP secrets manager integration
OAuth2 client id for Azure integration
OAuth2 client secret for Azure integration
OAuth2 client id for Gitlab integration
OAuth2 client secret for Gitlab integration